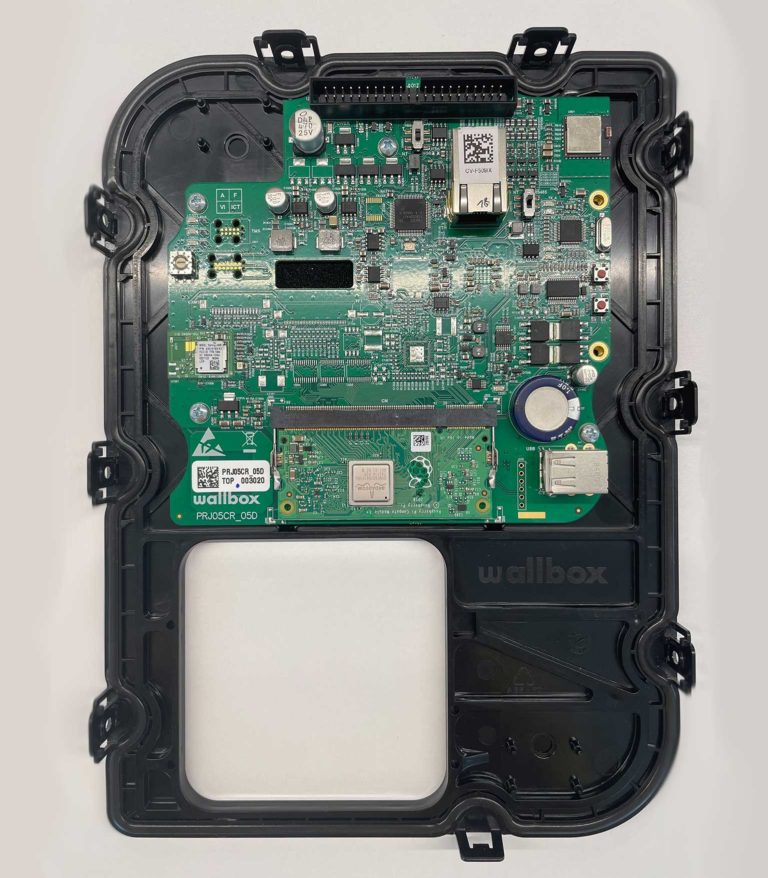
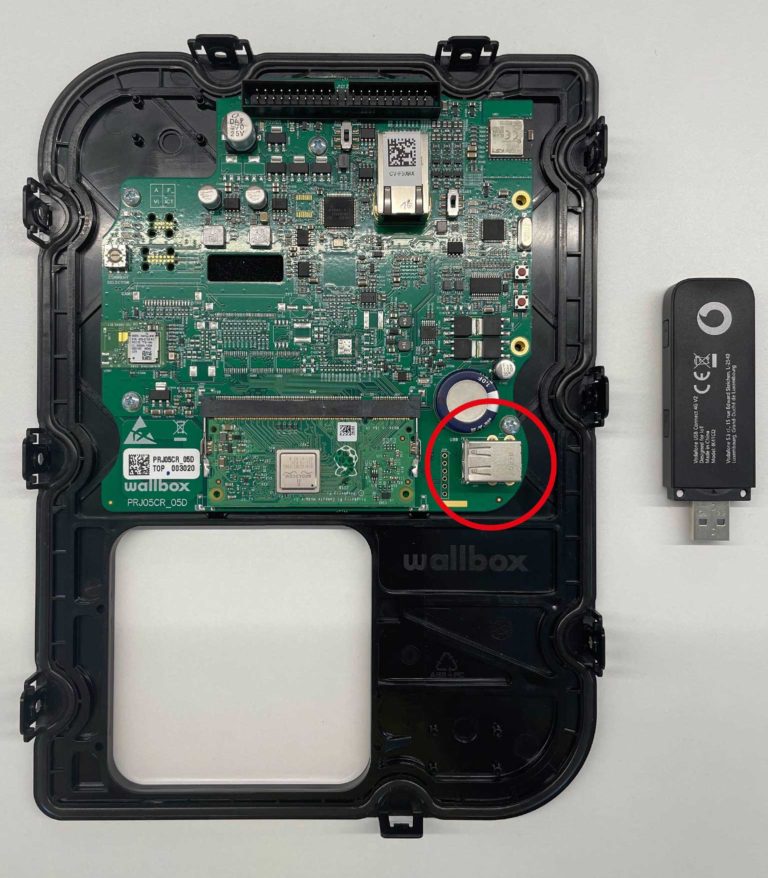
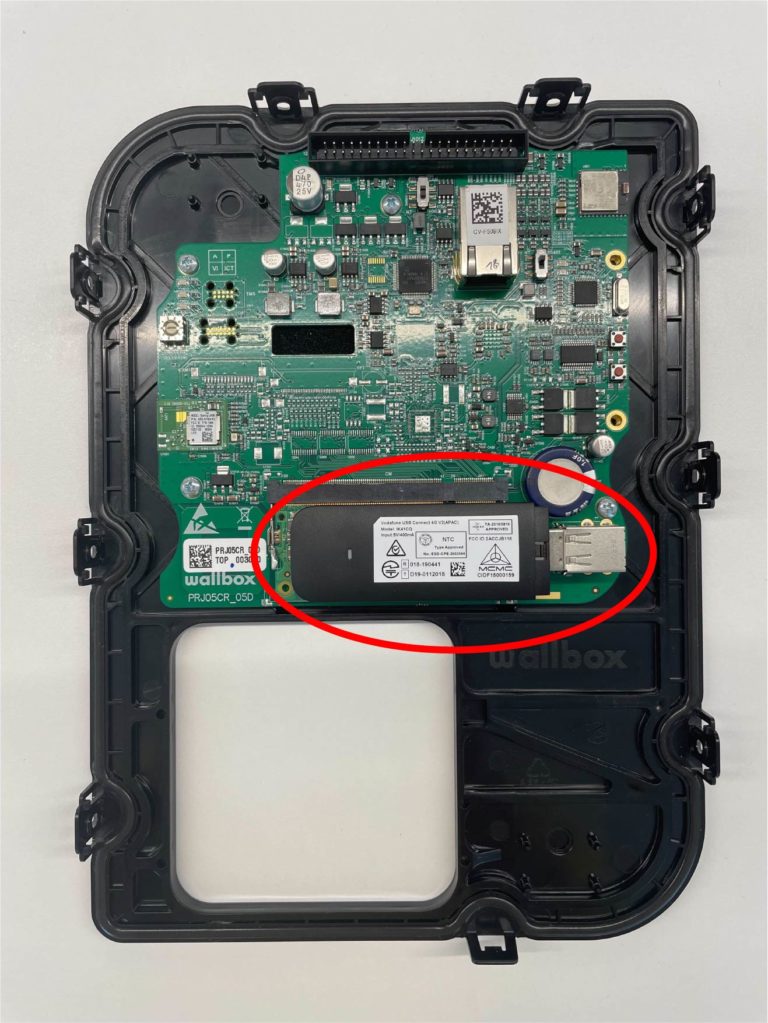
Sigue estos pasos para instalar el dongle 4G que viene en el kit Copper SB.
No olvides configurar la conexión 4G con la app Wallbox como se describe en la segunda sección de este artículo, sin eso la conexión no se activará.
1. Instalación del dongle 4G
- Unboxing
Open the packaging of your Copper SB.
- Opening
Take the cover out and place it gently on the exterior side on a flat surface, being careful not to damage the cover or the electric circuits under it. You can help yourself to the Copper SB installation guide if you have difficulty opening the charger.

- 4G dongle
Take the 4G dongle out of its box. Locate the USB port at the bottom left of the charger.

- Plugging the 4G dongle
Plug the 4G dongle into the bottom left USB port.

- Copper SB installation
Once the 4G dongle is correctly plugged in, carry on with the rest of the charger installation process, as described in the Copper SB Installation Guide.
- Configuring the 4G connection
After finalizing the installation, you need to configure the 4G connectivity using Wallbox app in order to enable the connection.
2. Configurar la conectividad 4G
Si aún no tienes una cuenta, regístrate y añade tu cargador a tu cuenta utilizando el código QR del cargador (o sus números SN y UID).
- Iniciar sesión en la aplicación Wallbox usando las credenciales.
- Seleccione su Copper SB y manténgase dentro de su rango de Bluetooth durante todos los pasos siguientes.
- Asegúrate de que estás conectado a tu Copper SB por Bluetooth, debería aparecer la mención “CONNECTED”.
- Accede a los Ajustes tocando el icono de la rueda dentada.
- Entrar en el menú de Conectividad.
- Seleccionar 3G/4G.
- Habilite la opción 3G/4G mediante el conmutador y rellene el campo APN con el siguiente valor:
inetd.vfes
- Guardar la configuración pulsando el botón “Save” en la parte inferior de la pantalla.
- El icono de 4G aparecerá en la aplicación en cuanto se conecte a la red. Este proceso podría tardar unos minutos.
Tu Copper SB ya está configurada correctamente para ser utilizada con el dongle 4G.