Follow these steps to install the 4G dongle that comes within the Copper SB kit.
Do not forget to configure the 4G connection with Wallbox app as described in the second section of this article, without that the connection will not be activated.
1. Installing the 4G dongle
- Unboxing
Open the packaging of your Copper SB.
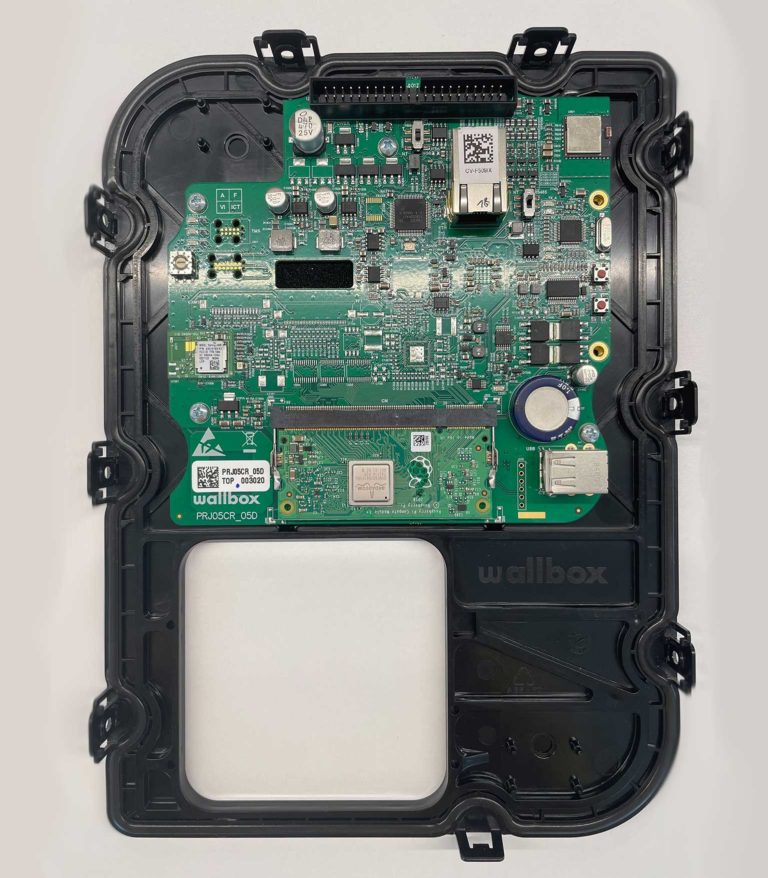
- Opening
Take the cover out and place it gently on the exterior side on a flat surface, being careful not to damage the cover or the electric circuits under it. You can help yourself to the Copper SB installation guide if you have difficulty opening the charger.
- 4G dongle
Take the 4G dongle out of its box. Locate the USB port at the bottom left of the charger.
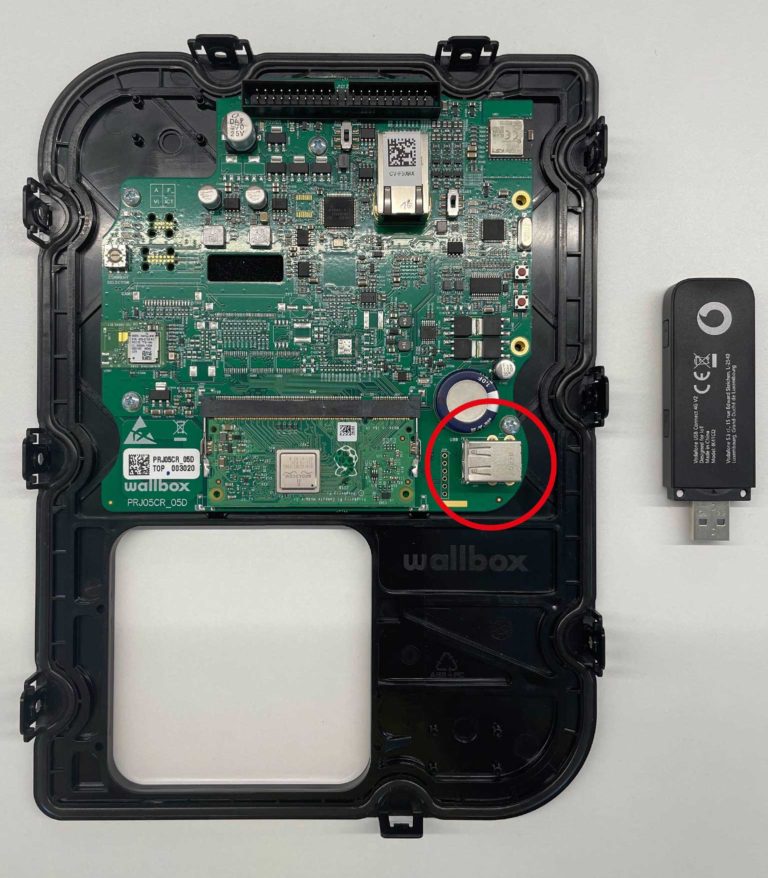
- Plugging the 4G dongle
Plug the 4G dongle into the bottom left USB port.
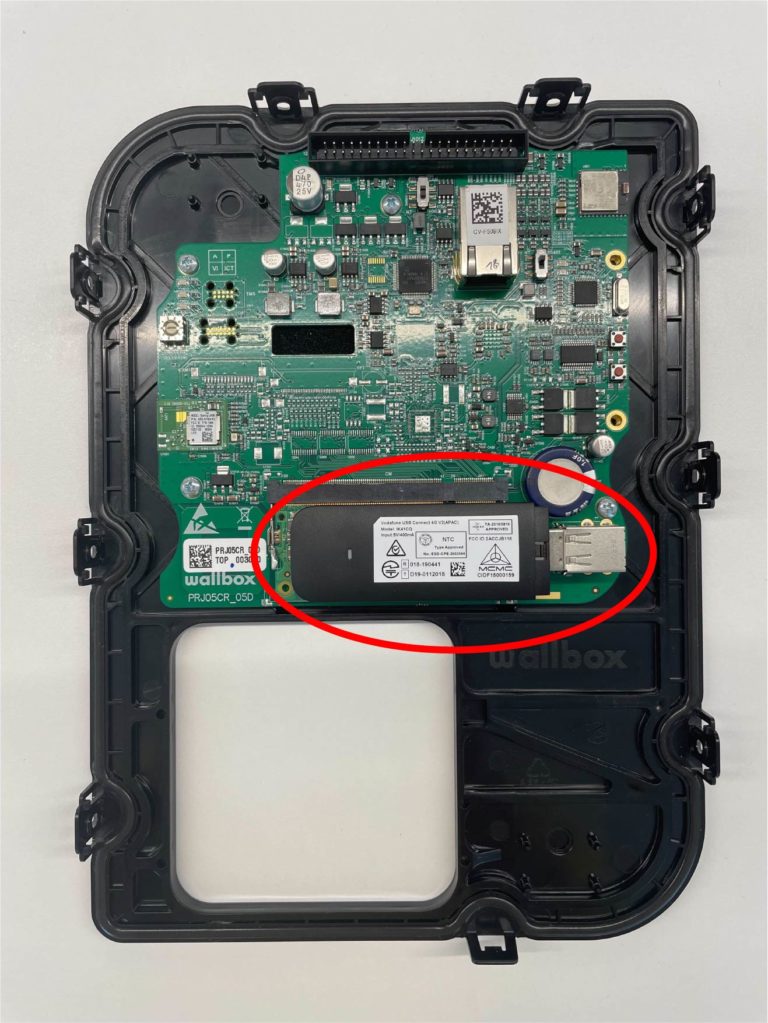
- Copper SB installation
Once the 4G dongle is correctly plugged in, carry on with the rest of the charger installation process, as described in the Copper SB Installation Guide.
- Configuring the 4G connection
After finalizing the installation, you need to configure the 4G connectivity using Wallbox app in order to enable the connection.
2. Configuring the 4G connectivity
If you do not have an account yet, register and add your charger to your account using the charger QR code (or its SN and UID numbers).
- Log into the Wallbox app by filling in your credentials.
- Select your Copper SB and stay within its Bluetooth range during all the following steps.
- Make sure you are connected to your Copper SB by Bluetooth, the mention “CONNECTED” should be displayed.
- Access Settings by tapping the cogwheel icon.
- Enter the Connectivity menu.
- Select 3G/4G.
- Enable the 3G/4G option using the toggle switch and fill in the APN field with the following value:
inetd.vfes
- Save the configuration by pressing the Save button at the bottom of the screen.
- The 4G icon will be displayed on the app as soon as it connects to the network. This might take a few minutes.
Your Copper SB is now configured correctly to be used with the 4G dongle.